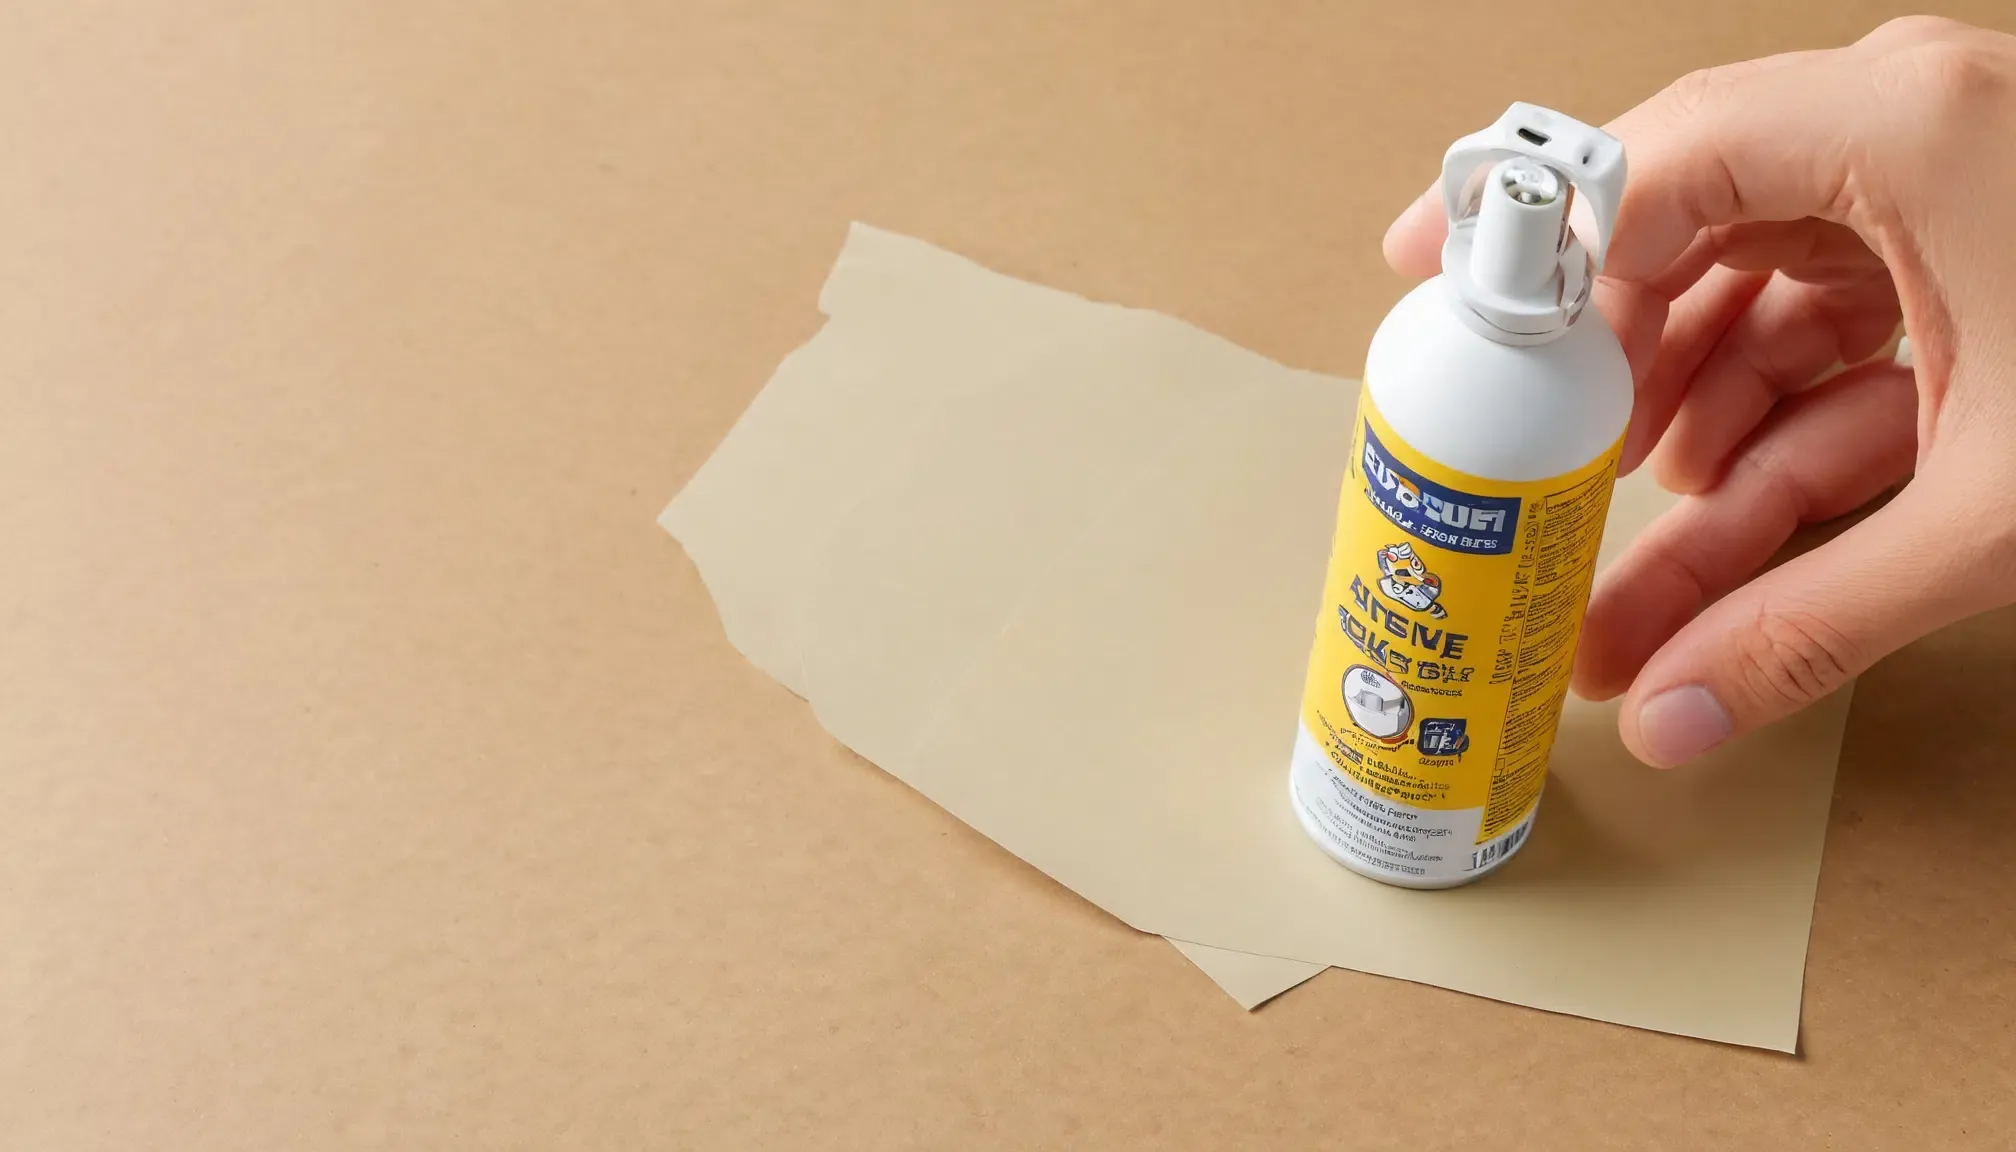
How to Use Spray Adhesive for Paper: Tips, Tricks, and Secrets
 |
| How to Use Spray Adhesive for Paper |
Hey there, craft lovers! Ever stared at your pile of Handmade Cards or scrapbook pages, wondering how to make sure everything sticks perfectly without a mess? Yeah, we've all been there! The answer to your sticky woes? Spray Adhesive! It's a total game-changer when it comes to crafting with paper.
Let's dive into the magical world of spray adhesive, find out the tricks to make it work like a charm, and discover the best types for your crafty projects!
Why Use Spray Adhesive for Paper Projects?
Paper's delicate, right? You don’t wanna mess it up with globby glue stains or warping edges. That’s where spray adhesive saves the day:
- Smooth and Even Coverage: Forget those uneven glue blobs. A quick spray gives you a clean, uniform coat across the whole surface.
- No Warping: Some liquid glues get way too wet, making paper curl up. Spray adhesive? Nope. It dries fast and stays smooth.
- Lightweight Hold: Need something that sticks without weighing your paper down? Spray adhesive’s got your back.
Whether you're crafting DIY card ideas, decorating with photos, or whipping up Handmade Greeting Cards, it’s a surefire way to keep things clean and classy.
Tips for Using Spray Adhesive Without a Hitch
Wanna make the most of your spray adhesive? Follow these tips to get pro-level results every time:
Prep Your Space
Before you even think about spraying, make sure you're in a well-ventilated area! Craft outside if you can or crack open a window. Spray adhesive can get a little... aromatic, if you know what I mean! And don’t forget to cover surfaces around you – overspray happens to the best of us.
Shake That Can
Seriously, give it a good shake! A quick shake gets all the sticky stuff evenly mixed. You don’t want any weird lumps ruining your masterpiece.
Spray from a Distance
Hold the can about an arm’s length away. Spraying too close can lead to heavy blobs; too far and you might miss spots. Keep your strokes light and even – just like painting!
Go Light, Layer if Needed
Start with a light coat. Let it sit for a moment to get tacky, then go over it again if you need more stickiness. Better to layer than to overdo it all at once!
Use a Masking Shield
Worried about sticky edges? Grab some scrap paper to mask off areas you don’t want sprayed. This way, you only get adhesive exactly where you want it.
Keep it Dry, Not Drippy
Wait a few seconds before pressing the pieces together. Let the spray get a little tacky first. Press it down gently and make sure to smooth out any air bubbles that might sneak in.
Best Spray Adhesive Options for Craft Projects
Alright, so what’s the best spray adhesive out there for paper crafts and other projects? Here’s the scoop:
- Photo-Safe Spray Adhesive: Keep your pictures perfect! This type is safe to use on photos without causing any yellowing or fading.
- Waterproof Spray Adhesive: For projects that might face a little splash, grab a waterproof version. It’s especially handy if you're creating outdoor decor or cards that might need extra durability.
- Repositionable Spray Adhesive: Not ready for a permanent bond? This stuff lets you move things around until you’re absolutely satisfied.
- Heavy-Duty Spray Adhesive: For thick paper, cardstock, or heavier items, a stronger spray will make sure everything stays put.
Creative DIY Card Ideas Using Spray Adhesive
Need a little inspiration? Here’s how you can use spray adhesive to make your Handmade Greeting Cards shine:
- Layered Paper Effects: Use spray adhesive to stack thin paper layers, creating 3D effects without the weight. It’s great for making flowers or pop-up designs.
- Stenciled Designs: Spray the back of a homemade stencil lightly to keep it in place, then paint over it. You’ll get sharp, clean designs without the stencil slipping.
- Glitter Accents: For a sparkle that doesn’t shed everywhere, spray your adhesive on card areas and sprinkle glitter on top. A quick tap and it’s glitter magic!
- Fabric and Paper Combos: Mix fabric swatches with paper layers for a mixed-media look. Spray adhesive will hold them together without fraying or warping.
Avoiding Common Mistakes with Spray Adhesive
Every crafter has those “oops” moments, but here’s how to skip the most common spray adhesive pitfalls:
- Overdoing the Spray: Too much of a good thing isn't always better. A light mist is usually enough. Go slow, you can always add more!
- Skipping the Ventilation: Don’t get lightheaded! Even the best spray adhesives have a smell. Always spray in a space where fresh air’s flowing.
- Not Testing First: Different materials react differently. Test a small scrap before spraying your final piece. Saves a world of heartache!
- Touching Too Soon: Don’t rush! Give the adhesive a minute to get tacky. If you touch it too early, things might slide or stick where they shouldn’t.
Spray Adhesive for Crafts: Final Thoughts
There you have it! The secrets to spray adhesive success in all your paper and craft projects. It’s not just about sticking stuff together – it’s about doing it with style and confidence! Whether you’re crafting stunning Handmade Cards, making scrapbooks, or just having a fun DIY day, spray adhesive is your partner in crime.
So next time you’re staring at that can, don’t hesitate. Grab it, shake it up, and let your creativity fly! There's no limit to what you can do with a little sticky magic in your hands. Happy crafting!


.png)
