
Crafting a 3D Thank You Certificate
.png)
Crafting a 3D Thank You Certificate: Step-by-Step Guide
Introduction:
Expressing gratitude through a handmade certificate adds a personal touch to your appreciation. In this detailed guide, we'll explore the step-by-step process of creating a stunning 3D thank you certificate. From materials needed to intricate design techniques, you'll learn everything you need to know to craft a memorable token of appreciation.

Materials Needed:
Gathering the right materials is essential to create a beautiful 3D thank you certificate. Here's what you'll need:
- Cardstock paper (two different colors)
- Decorative paper (for hearts)
- Scissors
- Glue
- Lace ribbon.
- Beads
- Step-by-Step Guide:

Designing the Front:
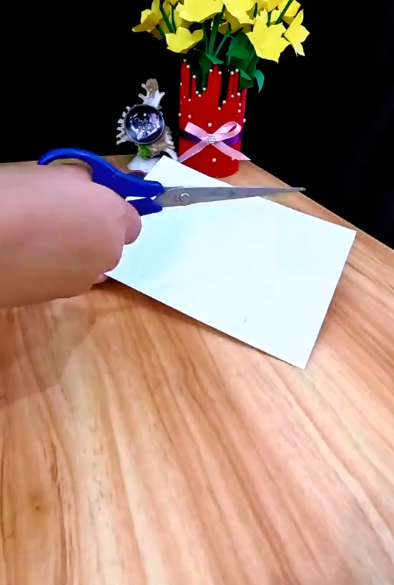
Start by selecting a suitable size for your certificate and cut the cardstock paper accordingly.
On one side of the cardstock, design the front of the certificate. Use decorative paper to cut out heart shapes.
Attach the heart shapes onto the cardstock paper, creating a layered and three-dimensional effect.
Leave a space blank under the hearts where you can add your personalized message.
Once the design is complete, attach a lace ribbon to the top of the certificate using glue. Thread beads onto the ribbon for added embellishment.

Crafting the Inside:
Take the second color of cardstock paper and fold it in half to create the inside of the certificate.
Along the folded edge, carefully cut perpendicular strips, ensuring they are the width of the fold.
Fold the cut strips inward, creating a curtain-like effect along the edges of the inside sheet.
Apply glue along the edges of the inside sheet and carefully attach it to the inside of the front sheet. This creates a layered and textured appearance.

Decorating the Inside:
Once the inside sheet is attached, decorate the interior of the certificate to your liking.
You can add additional embellishments such as stickers, stamps, or hand-drawn designs to enhance the overall look.
Consider including a heartfelt message or quote to convey your gratitude in a personal and meaningful way.

Assembling the Certificate:
To complete the 3D thank you certificate, carefully fold the front sheet over the inside sheet.
Ensure that the edges align neatly and that the certificate closes smoothly.
Press down firmly along the fold to secure the layers together and allow the glue to dry completely.

Conclusion:
Crafting a 3D thank you certificate is a thoughtful and creative way to express appreciation for someone special. With the right materials and techniques, you can create a beautiful and memorable token of gratitude that will be cherished for years to come. Take your time, personalize the design, and enjoy the process of creating something truly meaningful.


